Some times it’s preferable that you run analysis job on a remote supercomputer while doing modeling and visualization on a tiny laptop. Here shows an example of how to setup. I will use Abaqus 2016 as an example, but the method should apply to Abaqus releases recent enough.
My Environment
Local
- Kubuntu 16.04 amd64
- Dassault SIMULIA Abaqus Analysis (as a dependence of Abaqus CAE) and Abaqus CAE 2016 HF2
- Limited computing resource
Remote
- Ubuntu 14.04 amd64
- Dassault SIMULIA Abaqus Analysis and Abaqus CAE 2016 HF2 (not sure if necessary as we don’t use the remote computer for pre-processing and post-processing)
- An Intel Core i7-4790K and A NVIDIA GeForce GTX Titan X
Tips on Installing Abaqus 2016 on Ubuntu
You may notice that from Abaqus 2016, the installer will check your Linux distro and will refuse to install, like other 3DEXPERIENCE v6 products do, if it’s not RedHat or CentOS, etc. Sadly, Abaqus doesn’t support Debian, as well as its derivatives, either. But you can deceive the installer into thinking your distro is CentOS, using following method found here :
EditINSTALLER_DIR/inst/common/init/Linux.shwhereINSTALLER_DIRis the directory thatStartGUI.shresides inReplace the 3rd line,DSY_OS_Release=`lsb_release --short --id |sed 's/ //g'`withDSY_OS_Release="CentOS"
Update: But you can bypass distro check by simply execute this command:
export DSYAuthOS_`lsb_release -si`=1 && export DSY_Force_OS=linux_a64 && ksh ./StartGUI.sh
You may encounter lib****.so not found message in console when trying to launch Abaqus. Just install the corresponding package using apt. Typically you will need libjpeg62 and libstdc++5.
Local Instructions
Local operations are fairly straightforward, just tell Abaqus that a remote queue for submitting jobs is available, using the Abaqus environment files, as described in 19.2.7 Submitting a job remotely of Abaqus/CAE 2016 User’s Guide.
Add following lines to /home/<yourusername>/abaqus_v6.env (Create the file if not exist) or another possible environment file according to 4.1 Using the Abaqus environment files of Abaqus Installation and Licensing Guide, and do some modification according to your situation:
def onCaeStartup():
    import os

    def makeQueues(*args):
        session.Queue(
            # The queue name that you want to appear in the job editor.
            name='supercomputer',
            # The name of an existing queue on the host computer, will explain later.
            queueName='default',
            # The IP address or Domain Name of remote computer.
            hostName='XXX.XXX.XXX.XXX', # or 'supercomputer.ruoxi.wang',etc
            # Whether to copy computation results to local computer, typically not needed as default is ON
            # fileCopy=ON,
            # A remote directory which you have write access
            directory='/home/<username>/abaqustemp',
            # Command to launch Abaqus, better use the full path, use 'which abaqus' to get full path
            driver='/usr/local/bin/abaqus',
            # The OS of local computer, change to WINDOWS if necessary
            localPlatform=UNIX,
            # Select which result files to copy to local, typically not needed.
            # filesToCopy=['log', 'dat', 'msg', 'sta', 'odb', 'res', 'abq', 'pac'],
            # A discription
            # description='this is a queue'
            )

    addImportCallback('job', makeQueues)
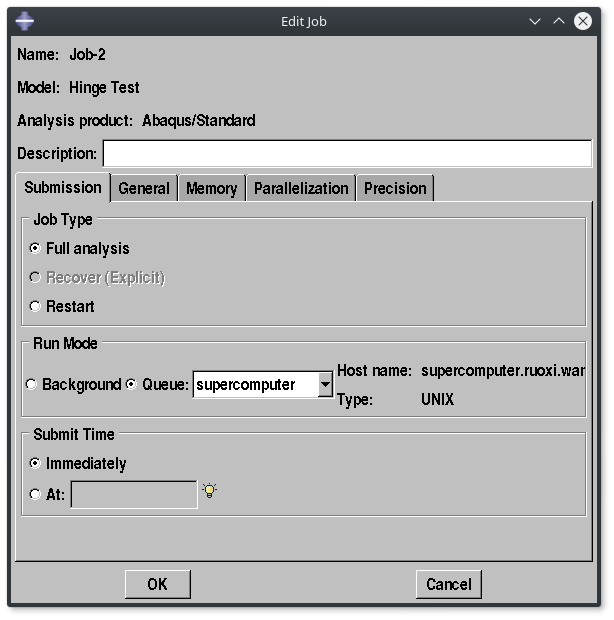
If you start Abaqus using command abaqus cae and create a job, the queue will appear in the Submission tab of Edit Job window.
But if you attempt to submit the job, you will get following error message in local console:
Abaqus Error: No queues have been defined. Please define one or more queues in the environment file.
Abaqus/Analysis exited with error(s).
This is because that there are no queues to accept the submission at the remote computer. So let’s move to re.
Remote Instructions
You need to be able to access the remote computer via SSH as Abaqus submits job through it. There shouldn’t be any prompt for you to enter a password, local user name and remote one should be same. In a word, you should be able to directly see the command prompt on the remote computer using a single local command ssh <remote_ip_or_name> .
Creating a Queue to Accept Submissions
Queue creation is also achieved through environment files. Create the /home/<username>/abaqus_v6.env with just one line:
run_mode = BATCH # This will create a queue named 'default'
A queue called ‘default’ will be set up according to 4.1.8 Object-oriented batch queue parameter of Abaqus Installation and Licensing Guide. Abaqus will use batch command to run this queue so make sure that the package at is installed. You can create more queues using following lines:
from driverQueues import *
queues['atq']    = AtQueue()
queues['batchq'] = BatchQueue()
queues['hold']   = HoldQueue()
For more information about different queue types, refer to 4.2 Defining analysis batch queues of Abaqus Installation and Licensing Guide. Making your own queue class is also possible.
If you submit a job now, you may find the remote side analysis exits with an error Socket error: (-2, 'Name or service not known') which can be found in <jobname>.log located in the remote directory /home/<username>/abaqustemp . By looking into <jobname>.com you will locate the cause:
'listener_name':'ruoxi-Desktop',
The remote computer surely can not locate your local computer via the hostname ruoxi-Desktop if they are not on the same subnet. I’ve not found a way to change this to an IP address or Domain Name yet, and my solution is changing /etc/hosts on the remote side.
Changing /etc/hosts file
Add a line to your remote side /etc/hosts file:
XXX.XXX.XXX.XXX ruoxi-Desktop
Displaying on the left belongs to your local computer and the string on the right can be found in <jobname>.com
Conclusion
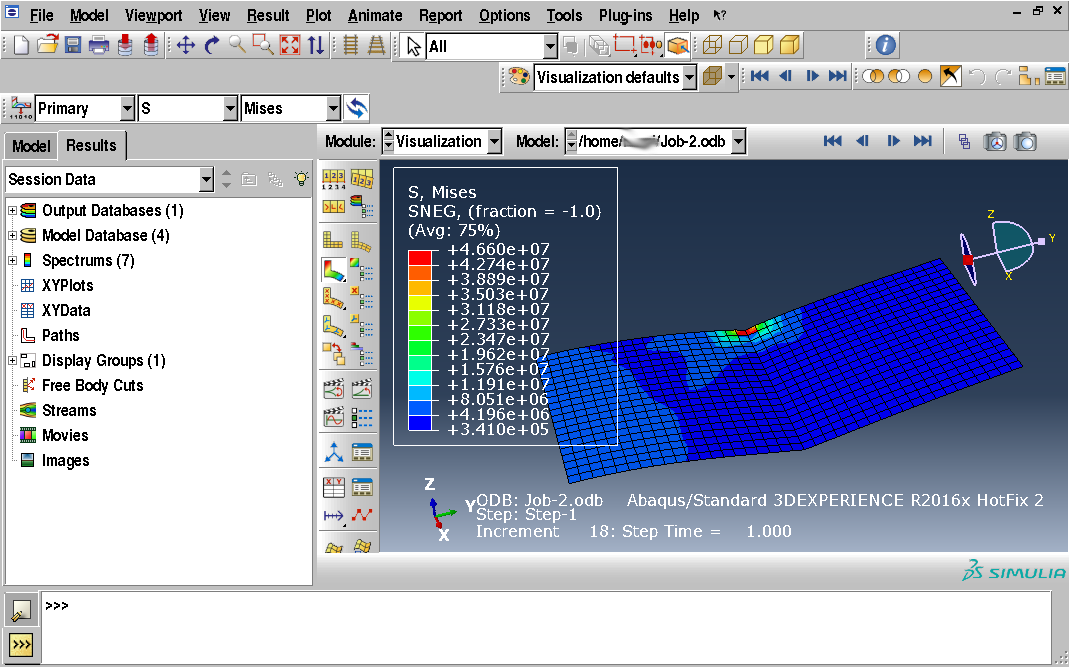
After the operations above are done, your local computer should be able to submit the job to the remote machine and retrieve result files when the analysis is completed, the job monitor still functions as if you are doing analysis locally, but you cannot view results until the analysis finishes. Viewing results before the analysis complete is possible via ODB connector, but I’m getting permission denied error on my remote machine so maybe I can cover it in the next update.

December 7, 2016 at 8:53 AM
Test Reply